Skip to content
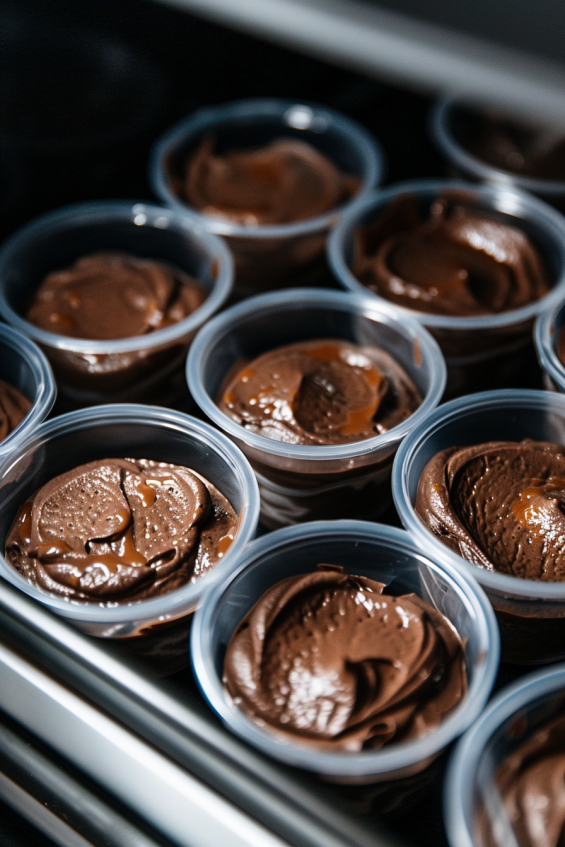


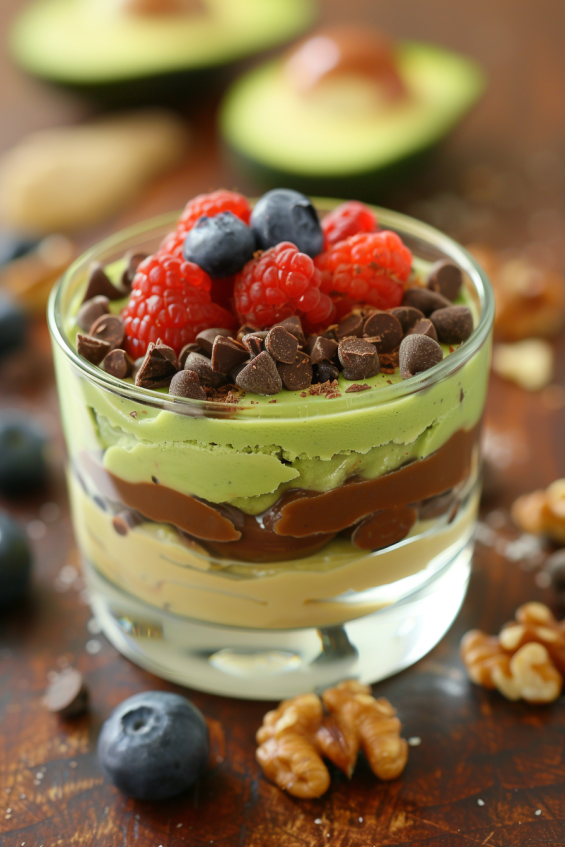

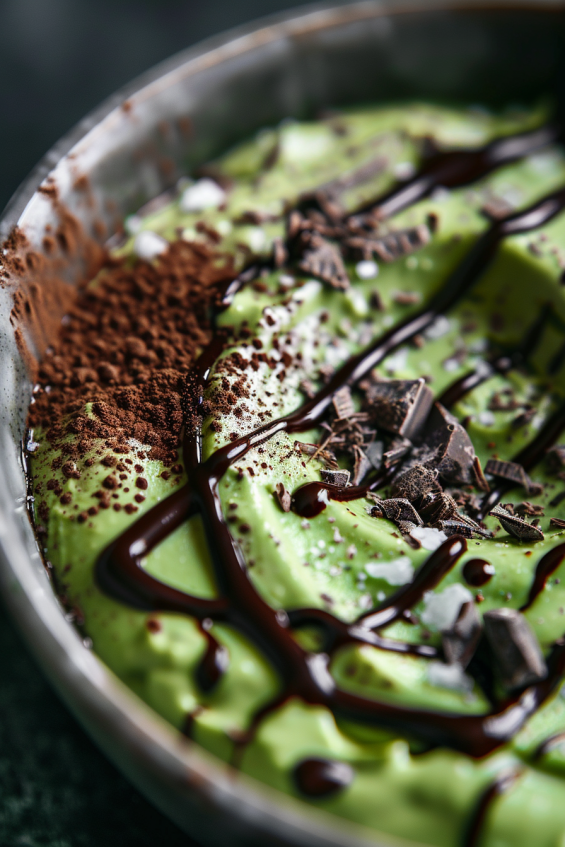


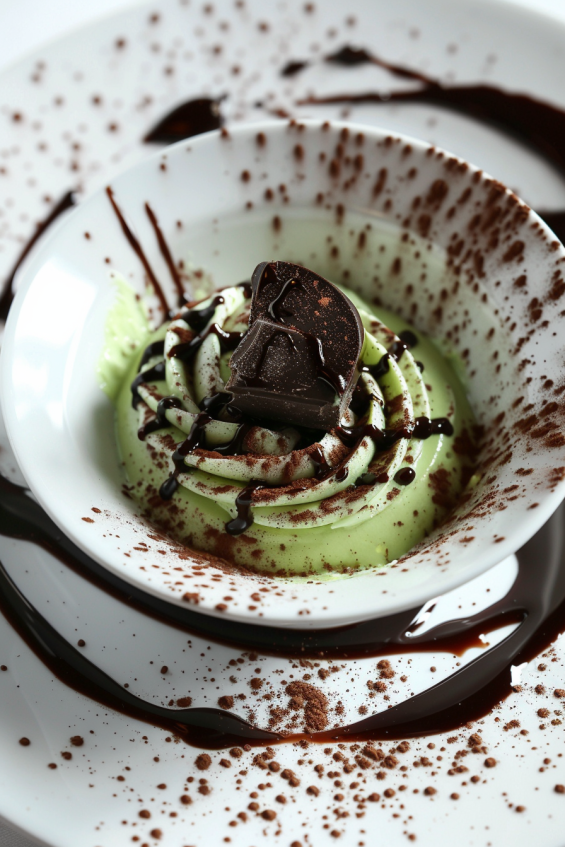


Creamy Avocado Chocolate Mousse
Indulge in a guilt-free dessert with this creamy and rich avocado chocolate mousse. Packed with healthy fats, natural sweetness, and decadent chocolate flavors, this recipe is perfect for a nutritious treat or a light yet satisfying dessert.
Equipment
- 1 Blender or food processor
- 1 Measuring cups and spoons
- 1 Spatula
- 2 Small serving bowls or glasses
- 1 Knife and cutting board (for toppings)
Ingredients
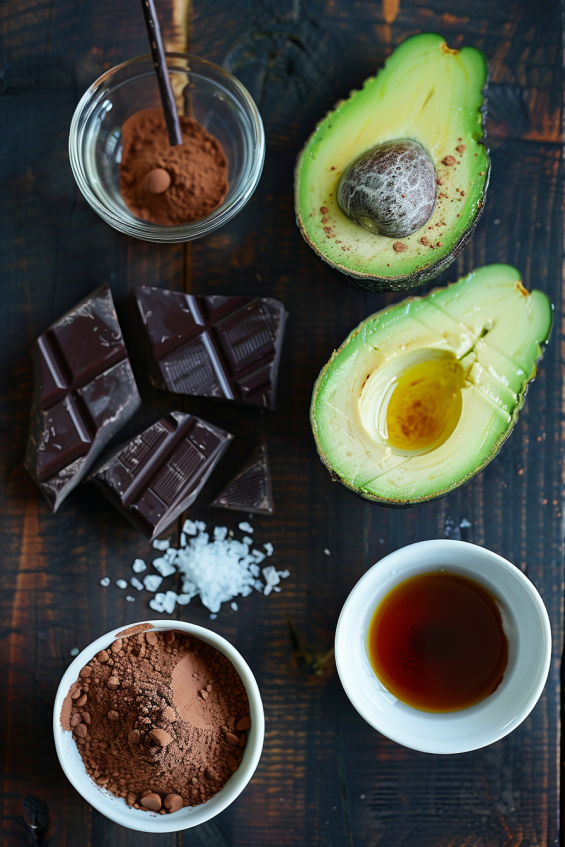
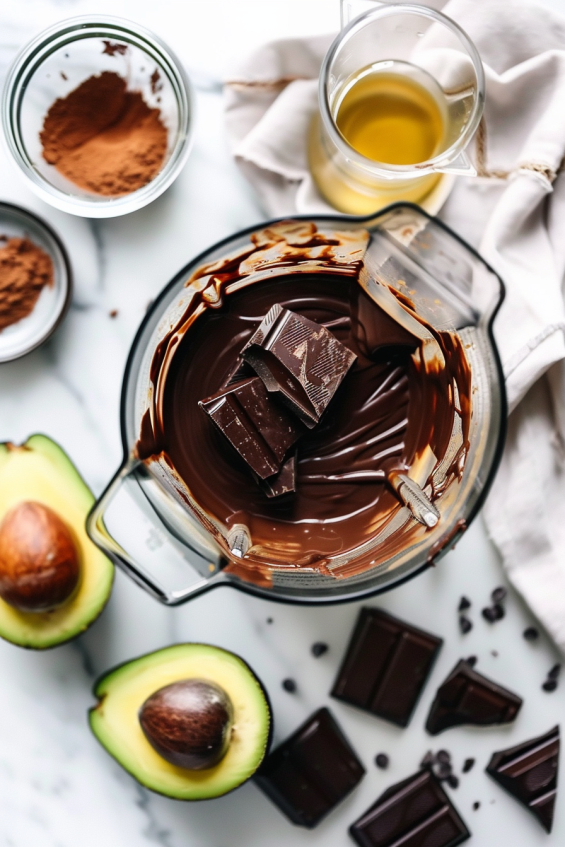
- 2 ripe avocados
- 1/4 cup unsweetened cocoa powder
- 1/4 cup maple syrup (or honey)
- 1/4 cup almond milk (or any milk of choice)
- 1 tsp vanilla extract
- A pinch of sea salt
- Toppings: fresh berries, chopped nuts, coconut flakes, or dark chocolate shavings
Instructions
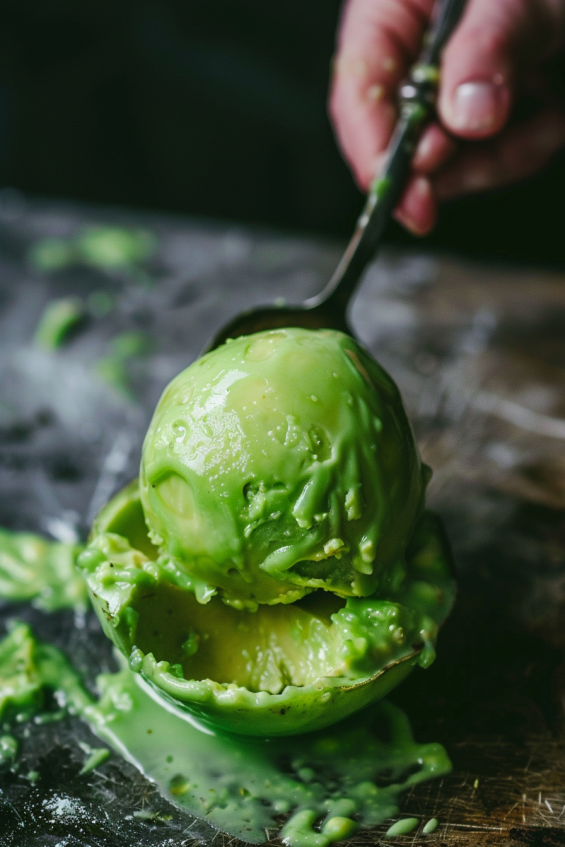
- Prepare the Avocados: Cut the avocados in half, remove the pits, and scoop the flesh into a blender or food processor.
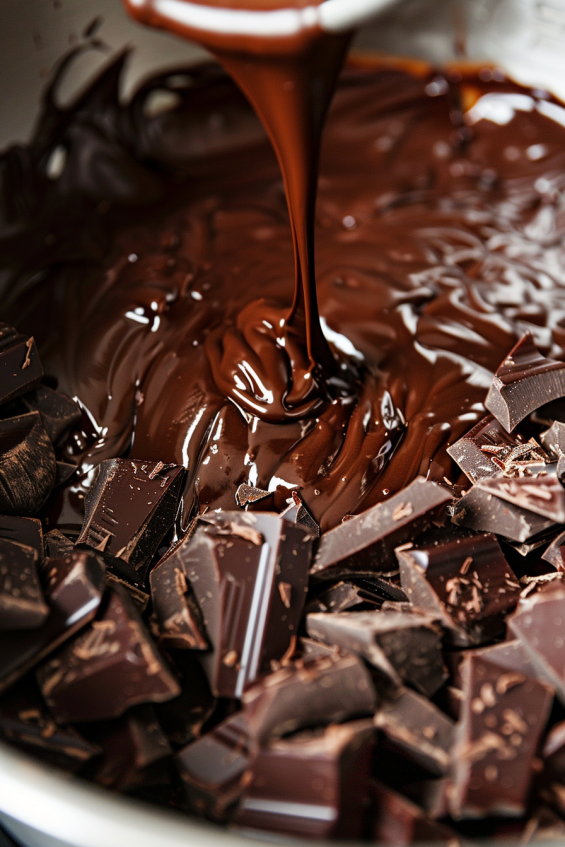
- Blend the Ingredients: Add cocoa powder, maple syrup, almond milk, vanilla extract, and a pinch of sea salt. Blend until smooth and creamy.
- Taste and Adjust: Taste the mousse and adjust sweetness or cocoa flavor as needed. Blend again if necessary.
- Serve and Chill: Scoop the mousse into serving bowls or glasses. Cover and refrigerate for at least 1 hour.
- Add Toppings: Before serving, garnish with fresh berries, chopped nuts, or your preferred toppings.
Notes
- For a sweeter mousse, add extra maple syrup or honey.
- Use coconut milk for a richer, creamier texture.
- Store leftovers in an airtight container for up to 2 days in the refrigerator.